


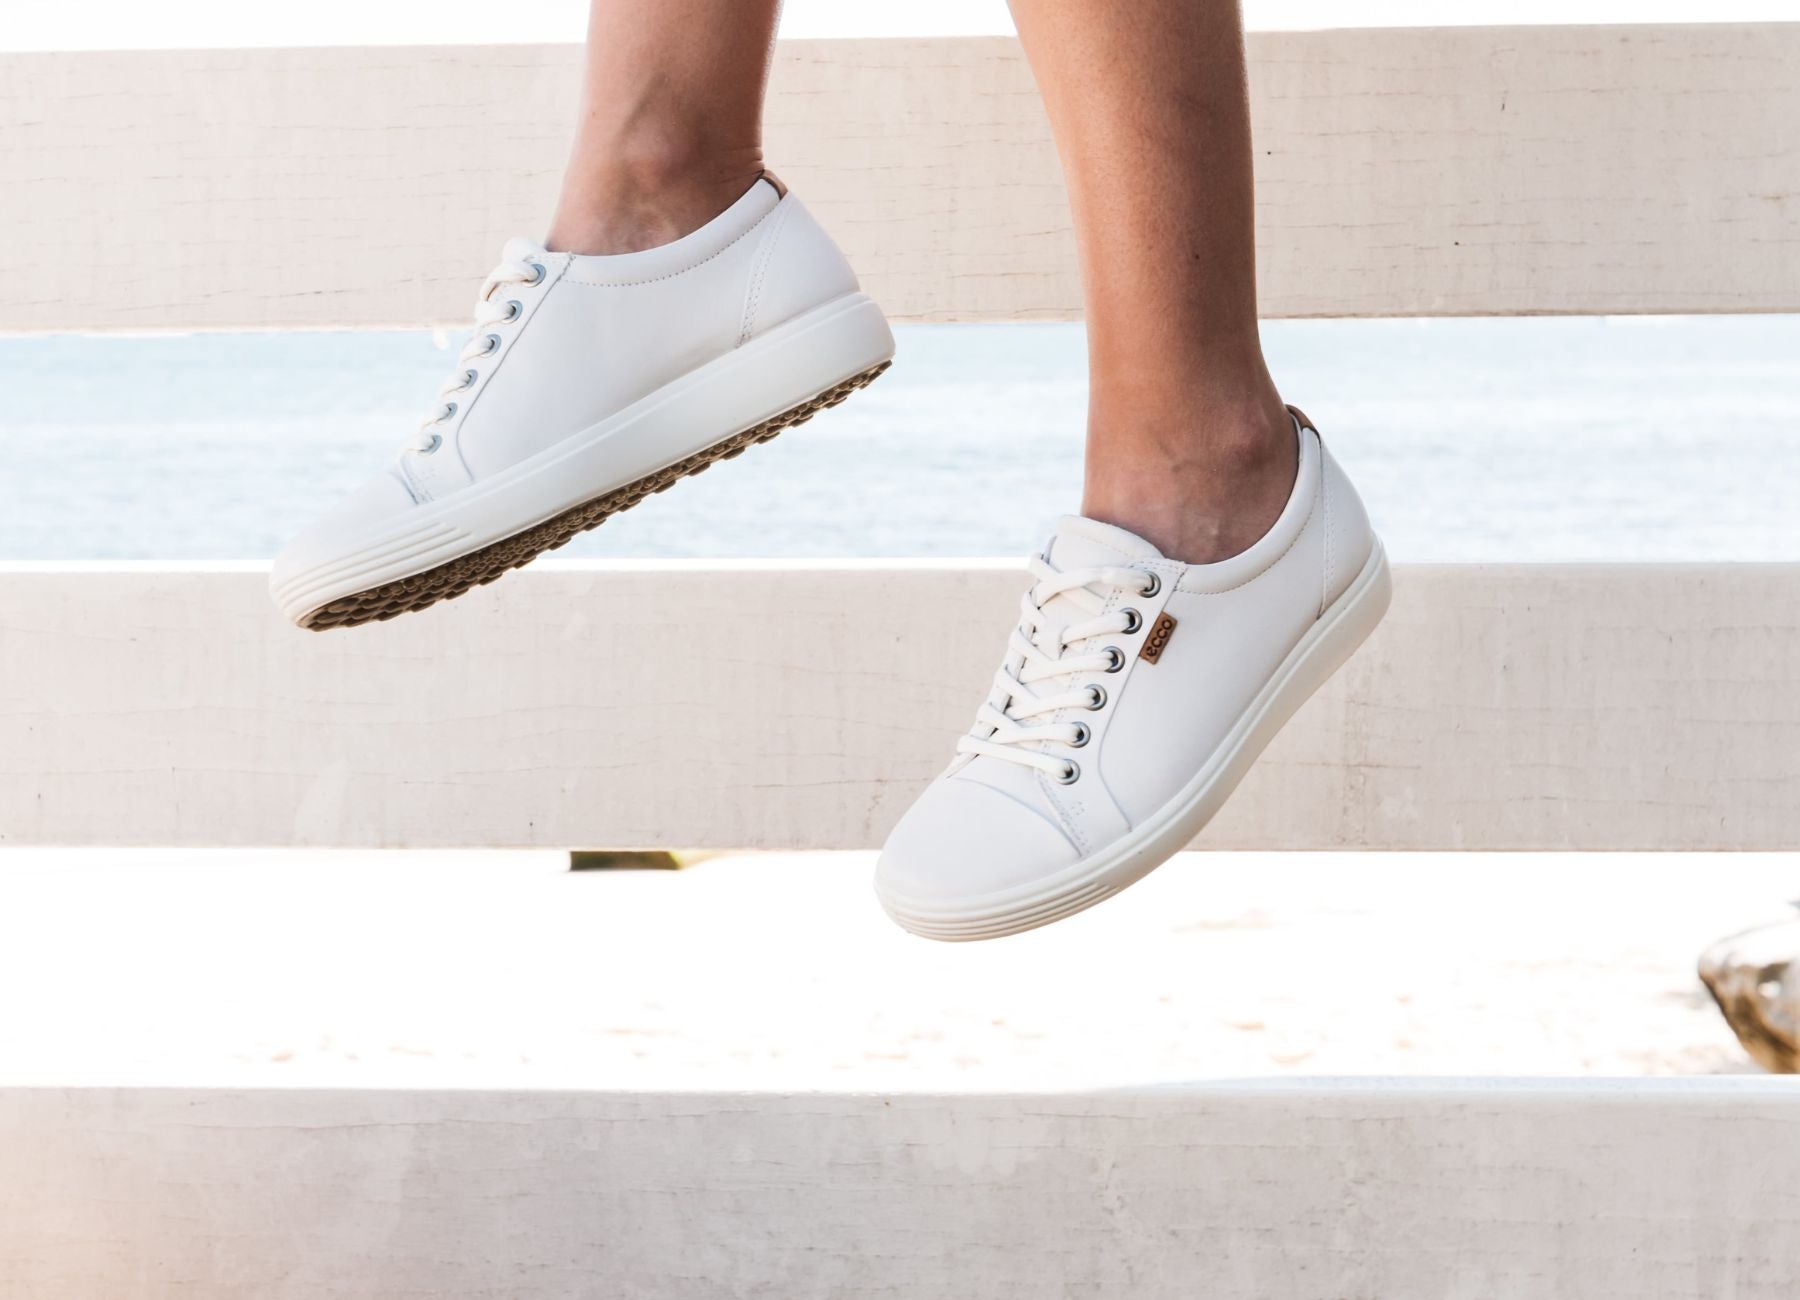
Keepin’ it Fresh!
How to clean and refresh those cherished white sneakers.
Ever wondered how to get more love and life out of those – let’s just say – ‘well loved’ white sneakers? Follow our guide onhow to clean white shoes, and keep those kicks kickin’ it with style.
|
Quick Guide Step One - A Waterproofed Shoe is a Happy Shoe Step Two - Wash The Laces Step Three - Clean and Refresh Those Insoles Step Four - Not Quite A Detox, But Definitely a Cleanse Step Five - Scrub Those Soles Step Six - Go Relax And Have A Cup Of Tea Step Seven - Moisturise Step Eight - Freshen Up That Colour Step Nine - Colouring The Shoe Step Ten - Re-lace and Re-waterproof |
Who doesn’t remember that fresh out of the box excitement of a new pair of white sneakers?
Crisp, clean laces, bright leather uppers, ready to style up any outfit; and the promise to oneself that this time you won’t get them so dirty and you will keep them clean. Those gorgeous kicks work hard, not only do they look and feel great, but they also pound the pavement, getting us where we need to be. Those heady days of fresh new shoes areglorious. Going out to lunch in an outfit paired with my cute new sneaks? Don’t mind if I do!
However, over time, along comes the inevitable dirt and grime of everyday living; we never see it coming. Those white sneaks can’t dodge every mud puddle or dusty path. Sometimes it can feel like we must resign ourselves to wearing a pair of shoes that feel like a shadow of their former glory. Don’t get me wrong, they still look stylish with that lunch-date outfit, but could they look better?
You may be feeling sceptical, but let me assure you the answer is yes These are our tried and tested steps forhow to clean white shoes, and achieve the ultimate sneaker refresh.
Step 1 – A Waterproofed Shoe is a Happy Shoe
Pre-prep is best. As you can imagine, being number one on the list is the most important step. It will make it easier long term. Contrary to what the title of this step may indicate, we realise a shoe doesn’t have the capacity to feel joy. But, we can assure you that as the wearer, you will be happy and without regret if you waterproof your new shoes BEFORE you start to wear them. We highly recommend the ECCO Repel spray. Some of us learnt this step the hard way, a few shoes and a couple of stains ago.Whitening shoes starts with protecting the leather with a waterproof spray that not only helps the leather repel water, but it also helps to safeguard from dust and stains. Our experience is that a stain on a waterproofed upper is easier to remove as the spray prevents the stain from soaking in, giving you a greater chance of success in cleaning it. But don’t fret, if you missed this step and have a favourite pair of white sneakers you want to clean, follow from step two to get those sneaks sleek (if already dirty, don’t waterproof them yet).
A note on GORE-TEX® shoes – If your white shoes are labelled as having GORE-TEX® they are already waterproof for keeping your feet dry, so why is it important to waterproof them?
GORE-TEX® is a membrane that’s sewn into the upper of the shoes; it sits between the leather/material outer and the inner lining. There are two things to remember when it comes to white sneakers with GORE-TEX®. One, the upper itself can still be waterproof sprayed to protect the leather from stains and water. GORE-TEX® isn’t a treatment or protection on the outside layer of the shoe so waterproof spraying this will helpkeep white shoes clean. Two, make sure any cleaning, conditioning and colouring products you use on your GORE-TEX® shoes are approved for use on GORE-TEX®. The safe bet is to stick with ECCO products as they are all GORE-TEX®-friendly.
SHOP THE ECCO WATERPROOF REPEL SPRAY
Step 2 – Wash The Laces
This step on its own can make a huge difference to how your shoes look. As a material, laces tend to pick up a lot of the dust and dirt they encounter. The upside of being material is that they can be soaked and washed in water or the washing machine. If you’re going the washing machine route, make sure to pop those laces in a bra bag or pillowcase to protect them. A general wash in the washing machine can do the trick, but if you really want to brighten them up, try soaking in a white specific prewash soak like Vanish Napisan first. A hand wash using a foam shoe cleaner also works well. The foam shoe cleaner by ECCO can be used on both materials and leathers, a great option for a product that can clean your laces and the rest of the sneaker too!
Step 3 – Clean and Refresh Those Insoles
I’m here to implore you, please don’t limit your experience of wearing a freshly cleaned sneaker by forgetting to touch up the inside. It’s where the foot hug comes from and it deserves a lift too! Your feet will thank you for keeping their environment a little more ‘just left the salon’ and a little less ‘just left the gym’. Most shoes at Footgear come with removable insoles to help with width fittings or to accommodate orthotics and being removable also makes them easier to clean. Slip those soles out if you can and remove any dirt with a foam shoe cleaner and cloth (or a toothbrush to get out tough stains). Because of the foam cushioning underneath, they may take a little longer to dry so it’s best to clean them first and leave them aside as you tackle the rest of the shoe.
While we’re on the topic of insoles, let's talk about smell. Feet and shoes work hard and sometimes things get smelly as sweat and bacteria build. If this happens to you, you are not alone and you’re not without a solution! While those insoles are drying, spray the insides of your shoes with a shoe refresher spray. One with an antibacterial and antifungal is best. We can spray this on the insoles once they’ve dried as well. We’ve found some shoes may need a couple of treatments and ECCO’s Shoe Refresher Spray is one you can use daily to help maintain your foot house (shoe) environment.
Titbit – Want a next level refresh that’s going to give you a new shoe feel? Retire those old insoles and try a replacement insole instead. Good for any insoles that are beyond a clean or well-loved to the point of not having much cushioning left.
SHOP THE ECCO SHOE REFRESHER SPRAY
Step 4 – Not quite a Detox, but Definitely Cleanse
It’s time to clean those uppers! Now I know I just used the word clean, but yes I am about to follow up with the word exciting! Because…… this is the exciting part! How? Why??? You are about to see the dust and dirt lifted, the unveiling of the shoe you remember beneath, that you thought lost to memory. For this, you are going to need a good quality foam shoe cleaner, a soft cloth and a soft brush. On the topic of brush, you can get a shoe cleaning brush, but a soft toothbrush or nail brush will also work. Just make sure it's not something too harsh. On the topic of cleaners, we use ECCO’s Foam Shoe Cleaner for use on leathers including suede and materials. The great thing about foam cleaners is you don’t need to add water or soak the shoes. Please don’t soak your shoes!!! They might clean up, but soaking can compromise the integrity of the sole and upper tech. Using as much foam cleaner as needed, use a damp cloth for cleaning the large surface areas of the upper. Then use the brush to get into those harder to clean areas like the eyelets or stitching and any of the wrinkles in the leather. Using your hand to push out the uppers from the inside, helps to clean into those wrinkles too.
An exception to the rule – there are some shoes that are ok to wash in the washing machine. Make sure you check the product description to see if your shoe is one of them. We find it’s best to use a cleaner, cloth and brush first to remove dirt, mud, dust etc and then place the shoes inside a pillowcase before they go in the washing machine to protect them. From there, follow brand directions on the best way to machine wash.
Step 5 – Scrub Those Soles
The soles were white when you bought them, what happened! I know, life happened right? They were good times though. Remember when those sneakers trudged around Italy with you? They looked so cute in those travel pics. Well, they get the salon treatment too! If we could do a chemical peel we would, but unfortunately that’s not a shoe treatment. Grab a nail brush, toothbrush or magic eraser and a sole cleaner; we use ECCO’s. Then it’s a scrub-a-dub-dub shoes in a tub! but not soaking in water – remember that thing we said in step four? it just worked for the rhyme, and I couldn’t help myself! Use a cloth to wipe over as you go and watch those soles rejuvenate.
Step 6 - Go Relax and have a Cup of Tea
Take a break! All that hard work scrubbing shoes deserves a sit down and a treat, surely. At this point we need to let those shoes dry. This is best done in a cool dry and shaded place out of direct sunlight. Some foam cleaners will dry in approximately 15 minutes, but some may take longer. You can test by feel of when your shoes are ready for step seven. At this point you may be thinking, they look clean, but they don’t look back to the kind of fresh I was hoping for. Don’t fret, we’ve cleaned and now we condition and colour.
Step 7 – Moisturise
Now that we’ve cleaned the shoes, we want to make sure that nice moisture that keeps leathers soft and supple is replenished. You can use a combo leather conditioner that colours and conditions at the time, but we’ve found using a transparent conditioner first works to nourish the leather and prime it for a colour conditioner. Follow directions of your chosen leather conditioner. We useECCO’s Daily Leather Cream that comes with a sponge attachment for easy application and is best applied in a circular motion. Make sure you condition all the leather on the uppers of your sneaker, including the tongue. Use a soft cloth to ensure that the conditioner is evenly applied.
Your sneakers aren’t leather? These ones aren’t going to need a condition, once they’ve been cleaned, a material or textile upper of a white sneaker should be looking fresh by this step. One of the colour options we trailed in step eight can also be used on material sneakers so you can check that out too!
SHOP ECCO DAILY SMOOTH LEATHER CREAM - TRANSPARENT
Step 8– Freshen Up That Colour
This step might just be even more exciting than the cleaning in step four! I don’t make this claim lightly. Seeing those sneakers go from perhaps a little dull to dashing is no joke. Now, we have a couple of product options to use in this step depending on your preference.
ECCO’s Revive White Cream – This is a combo leather conditioner and colour that we spoke about in step seven. It’s one that we’ve found works well going on after the shoe has been conditioned with a transparent cream first. It has a high white pigment for adding back in that colour to your leather. You’ll need a soft, clean cloth to apply this cream to the uppers of your shoes. Apply small amounts at a time in a circular motion and make sure to get in along the lines of where the different sections are stitched and on the tongue of the shoe. If you’re finding the finish a little heavy, add another round of transparent conditioner at the end to help smooth everything out.
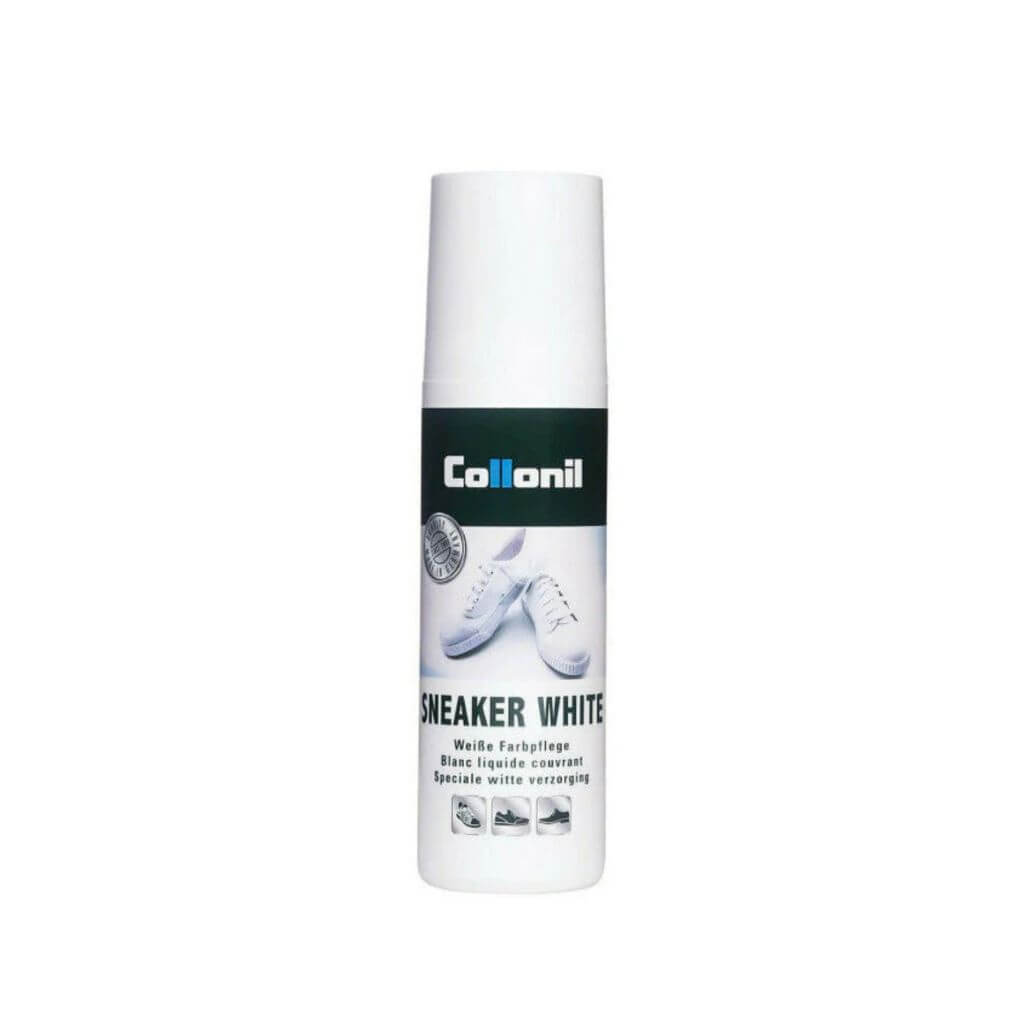
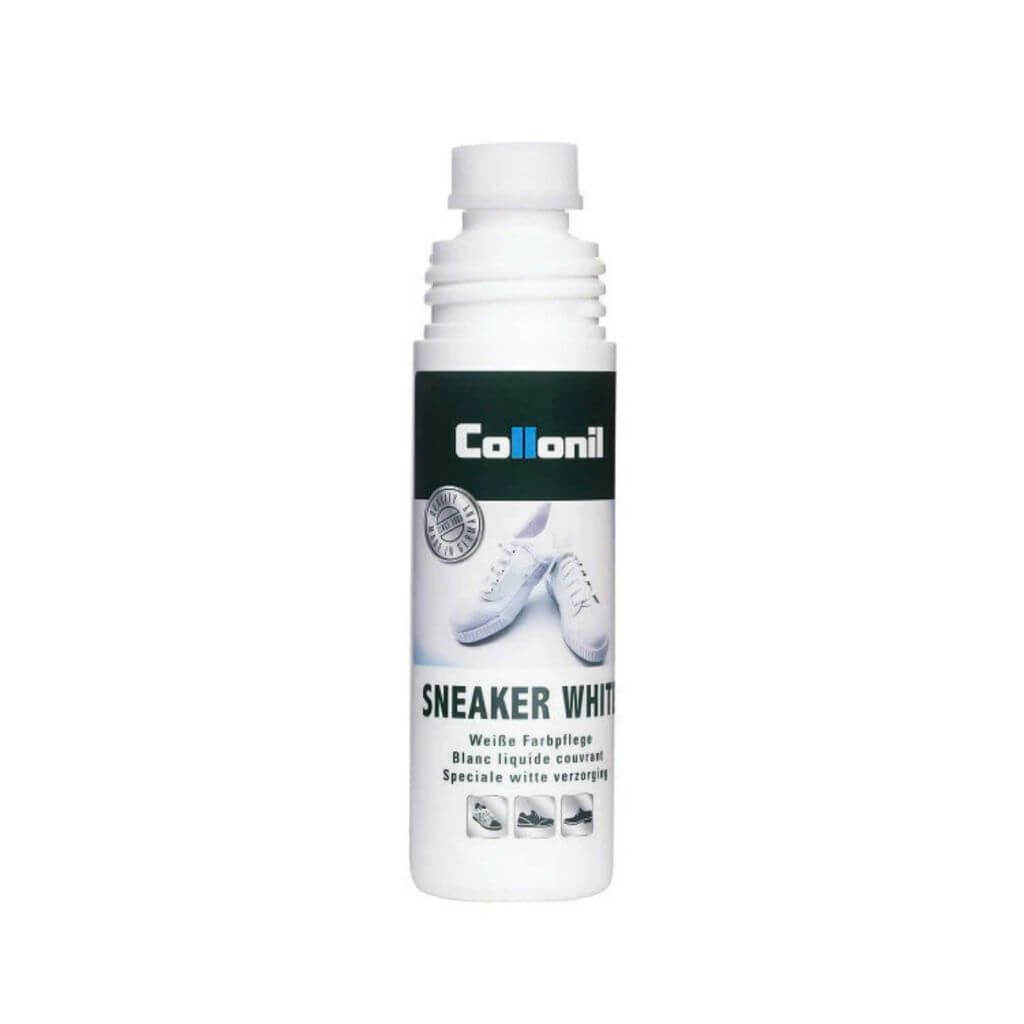
Colonils’ Combi White – Now this is the one that can recolour leather and material uppers! What??? What a hard worker! This is a colourant but not a conditioner so once you have applied this product to a leather upper, it’s best to redo a transparent leather conditioner afterwards to finish and smooth out the look. This is a great product to use if you feel like the uppers of your sneakers aren’t letting the revive cream soak in; it gives them the added boost in crispness.
Step 9 – Colouring The Sole
Ecco’s Sole Cleaner and scrub can really bring back a yellowing sole from the brink. If you want to freshen the midsole of your shoes even further, you can use a white midsole paint pen. Easy to use you can carefully repaint your midsoles white. As a paint, it will take time to dry and it doesn’t soak into the sole but is a layer on the outside and will need to be touched up or redone over time. This is the only product we’ve come across that takes the shoes to that next level of refreshing, that a cleaner can’t always achieve on their own.
Step 10 – Re-lace and Re-waterproof
Now that everything is clean, dried and re-dyed it’s time to put the shoes back together. Place the insoles back in the shoe (maybe give them one more spritz of a refresher spray for good luck) and re-lace them. Now before you start to wear them again, protect them with a waterproof spray. We use ECCO Repel spray for water resistance and stain protection. It’s easy to apply and dries quickly. Remember, a waterproofed shoe is a happy shoe 😊
Two extra tips - To help maintain the look of your freshly cleaned white shoes, keep a set of shoe wipes in your bag. Out for a walk and something drops on your shoe? Grab out a wipe to sort that potential stain then and there. Our other tip for fresh sneaks is to use a shoe refresher spray daily. ECCO’s spray is antibacterial and antifungal to help keep that nice environment for your feet and is best sprayed at the end of the day so it can dry overnight.
Now it would be nice if this refresh routine was a neat ten steps to follow. But there is one more step and that’s for you to step out in comfort and in fresh white sneaker splendour! Enjoy and happy stepping!
Find ourFAQ page for more answers to all the important questions!
Find out more onhow to care for your other types of shoes.
Find outhow to keep your Birkenstocks looking clean and fresh.
Wondering what's so good about Footgear? Find out why go with us here.
Get in touch with us for anything else we can help with.